How to Build an Outdoor Kitchen with a Wood Frame in Your Backyard
Outdoor kitchens have become one of the most popular backyard upgrades for homeowners who love entertaining, cooking, and making the most of their outdoor space. They create a natural gathering spot, extend your living area, and add value to your property. One of the most cost-effective and customizable ways to build an outdoor kitchen is with a wood frame.
At Outdoor Space Builders, we specialize in creating luxury outdoor living spaces across Connecticut, including custom kitchens, decks, patios, and pergolas. With years of hands-on experience using premium materials like TimberTech, bluestone, and heat-bent PVC, our team understands exactly what it takes to design and build a wood-framed outdoor kitchen that looks stunning and stands the test of time. This guide draws on that expertise to walk you through the process step by step—from planning and framing to finishes and maintenance.
Choosing the Right Materials
Types of Wood Suitable for Framing
The backbone of your outdoor kitchen is the frame. For a wood frame, pressure-treated lumber is the most common choice because it’s treated to resist rot, insects, and moisture damage. Cedar is another popular option thanks to its natural resistance to decay and attractive appearance.
Alternatives and Reinforcements
While wood makes for an affordable frame, you can strengthen it by incorporating cement board sheathing, fire-resistant insulation, or even mixing in steel supports. For homeowners considering other durable materials, our guide on composite vs PVC decking explores weather-resistant alternatives that can inform your material choices. These reinforcements make the structure more durable against weather and heat from grills or appliances.
Moisture, Fire, and Weather Considerations
Since wood is naturally combustible and vulnerable to water damage, it’s essential to plan ahead. Use fire-rated sheathing around grill areas, waterproof membranes or vapor barriers, and make sure the wood is sealed and elevated off the ground to reduce moisture exposure.
Planning Your Outdoor Kitchen Layout
Assessing Backyard Space and Foundation Requirements
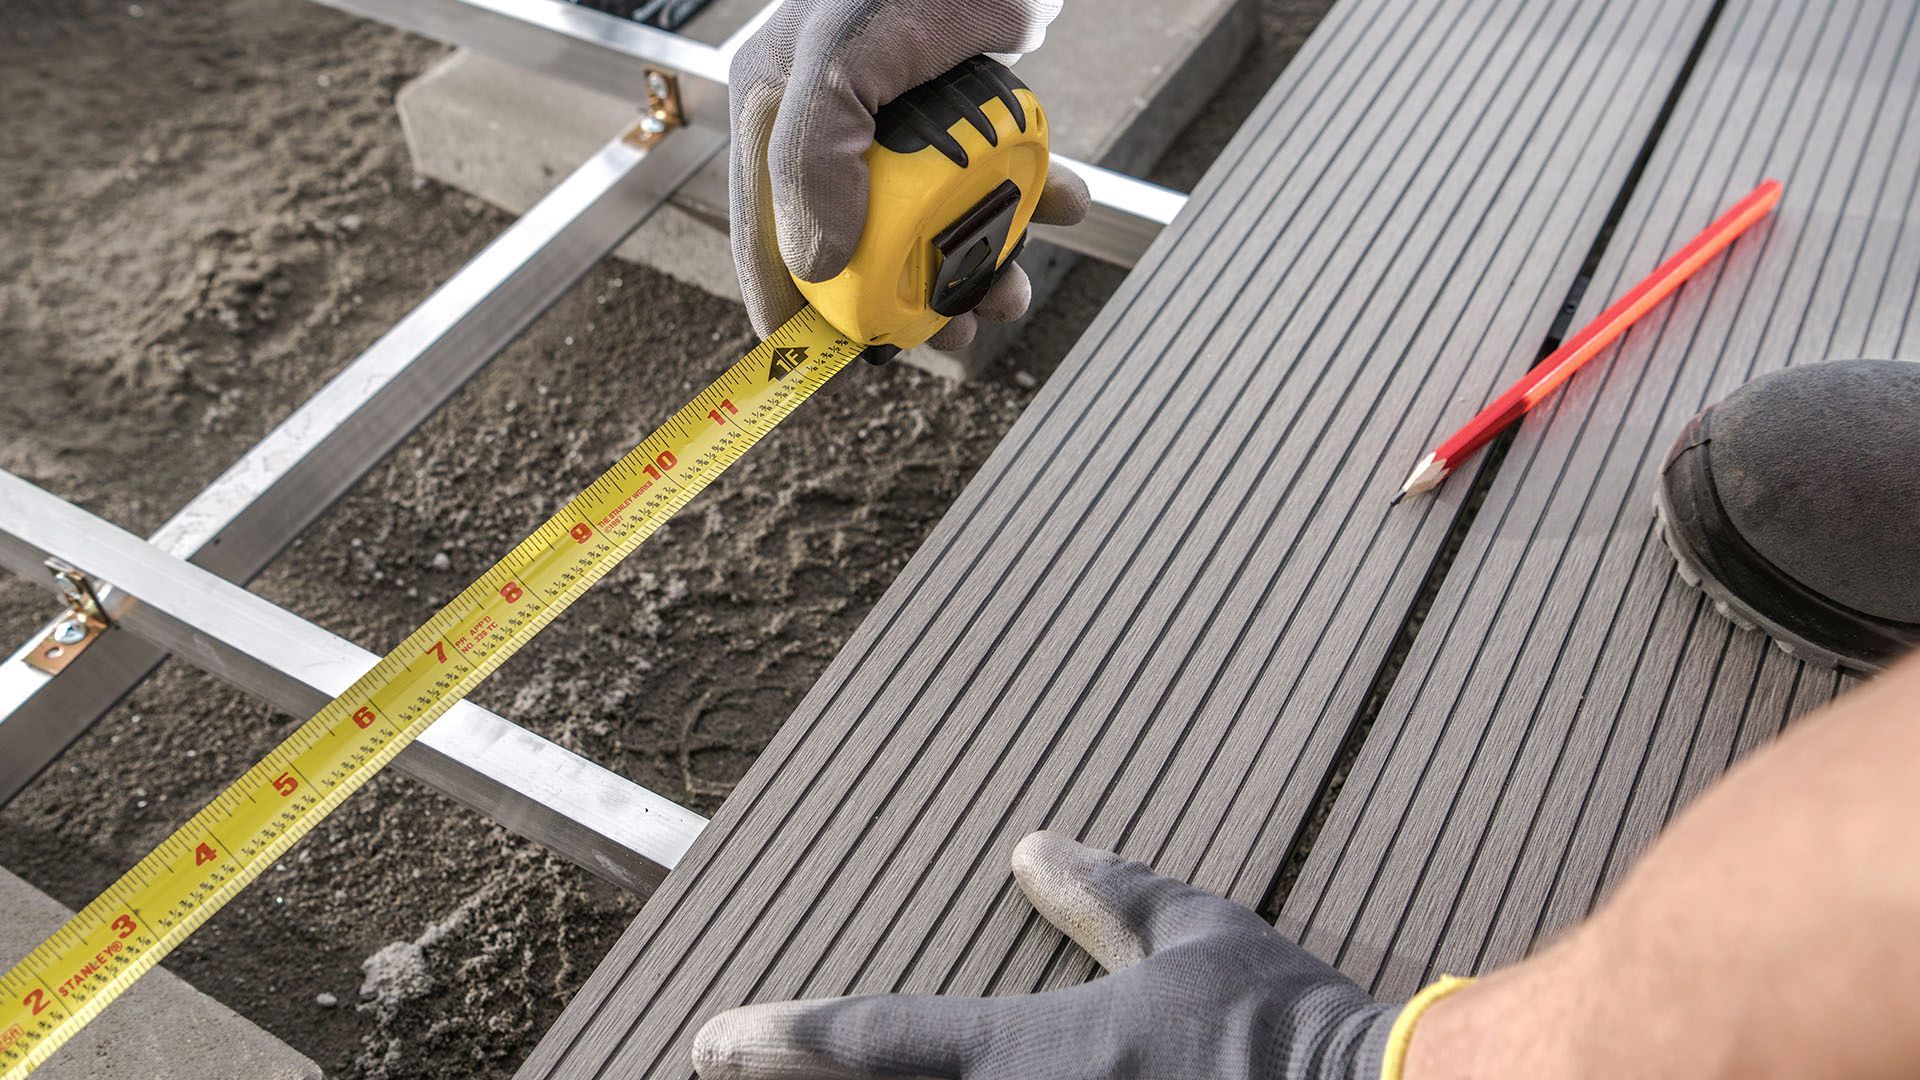
Start by measuring your available space and deciding where the kitchen will go. Consider things like proximity to the house, available shade from existing structures or pergolas, and whether you need a concrete slab or patio base for stability. A level, durable foundation is critical for long-term performance.
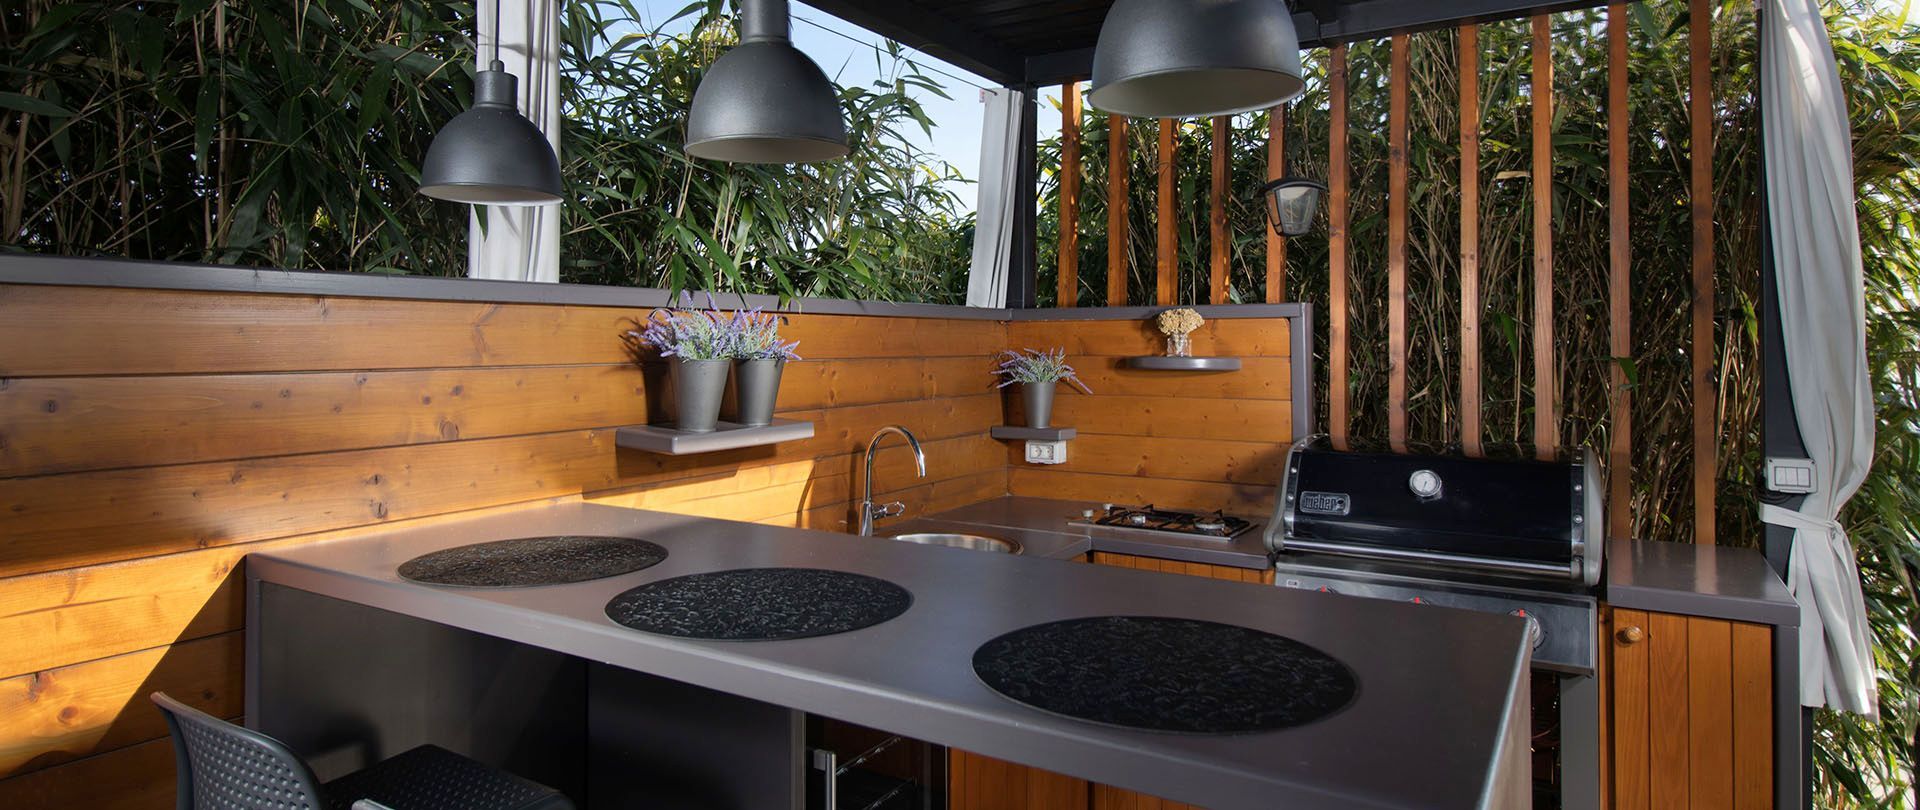
Common Outdoor Kitchen Zones
Divide your outdoor kitchen into functional zones:
- Prep Area: Counter space for cutting and mixing
- Cooking Area: Grill, smoker, or pizza oven placement
- Dining/Serving Area: Seating, bar, or buffet space
This ensures your kitchen not only looks good but also works efficiently for entertaining.
Factoring in Utilities
Plan early for utilities like gas lines, electrical wiring, and water hookups. These need to be safely integrated into the wood frame and may require professional installation to meet local codes.
Building the Frame
Setting the Foundation or Base
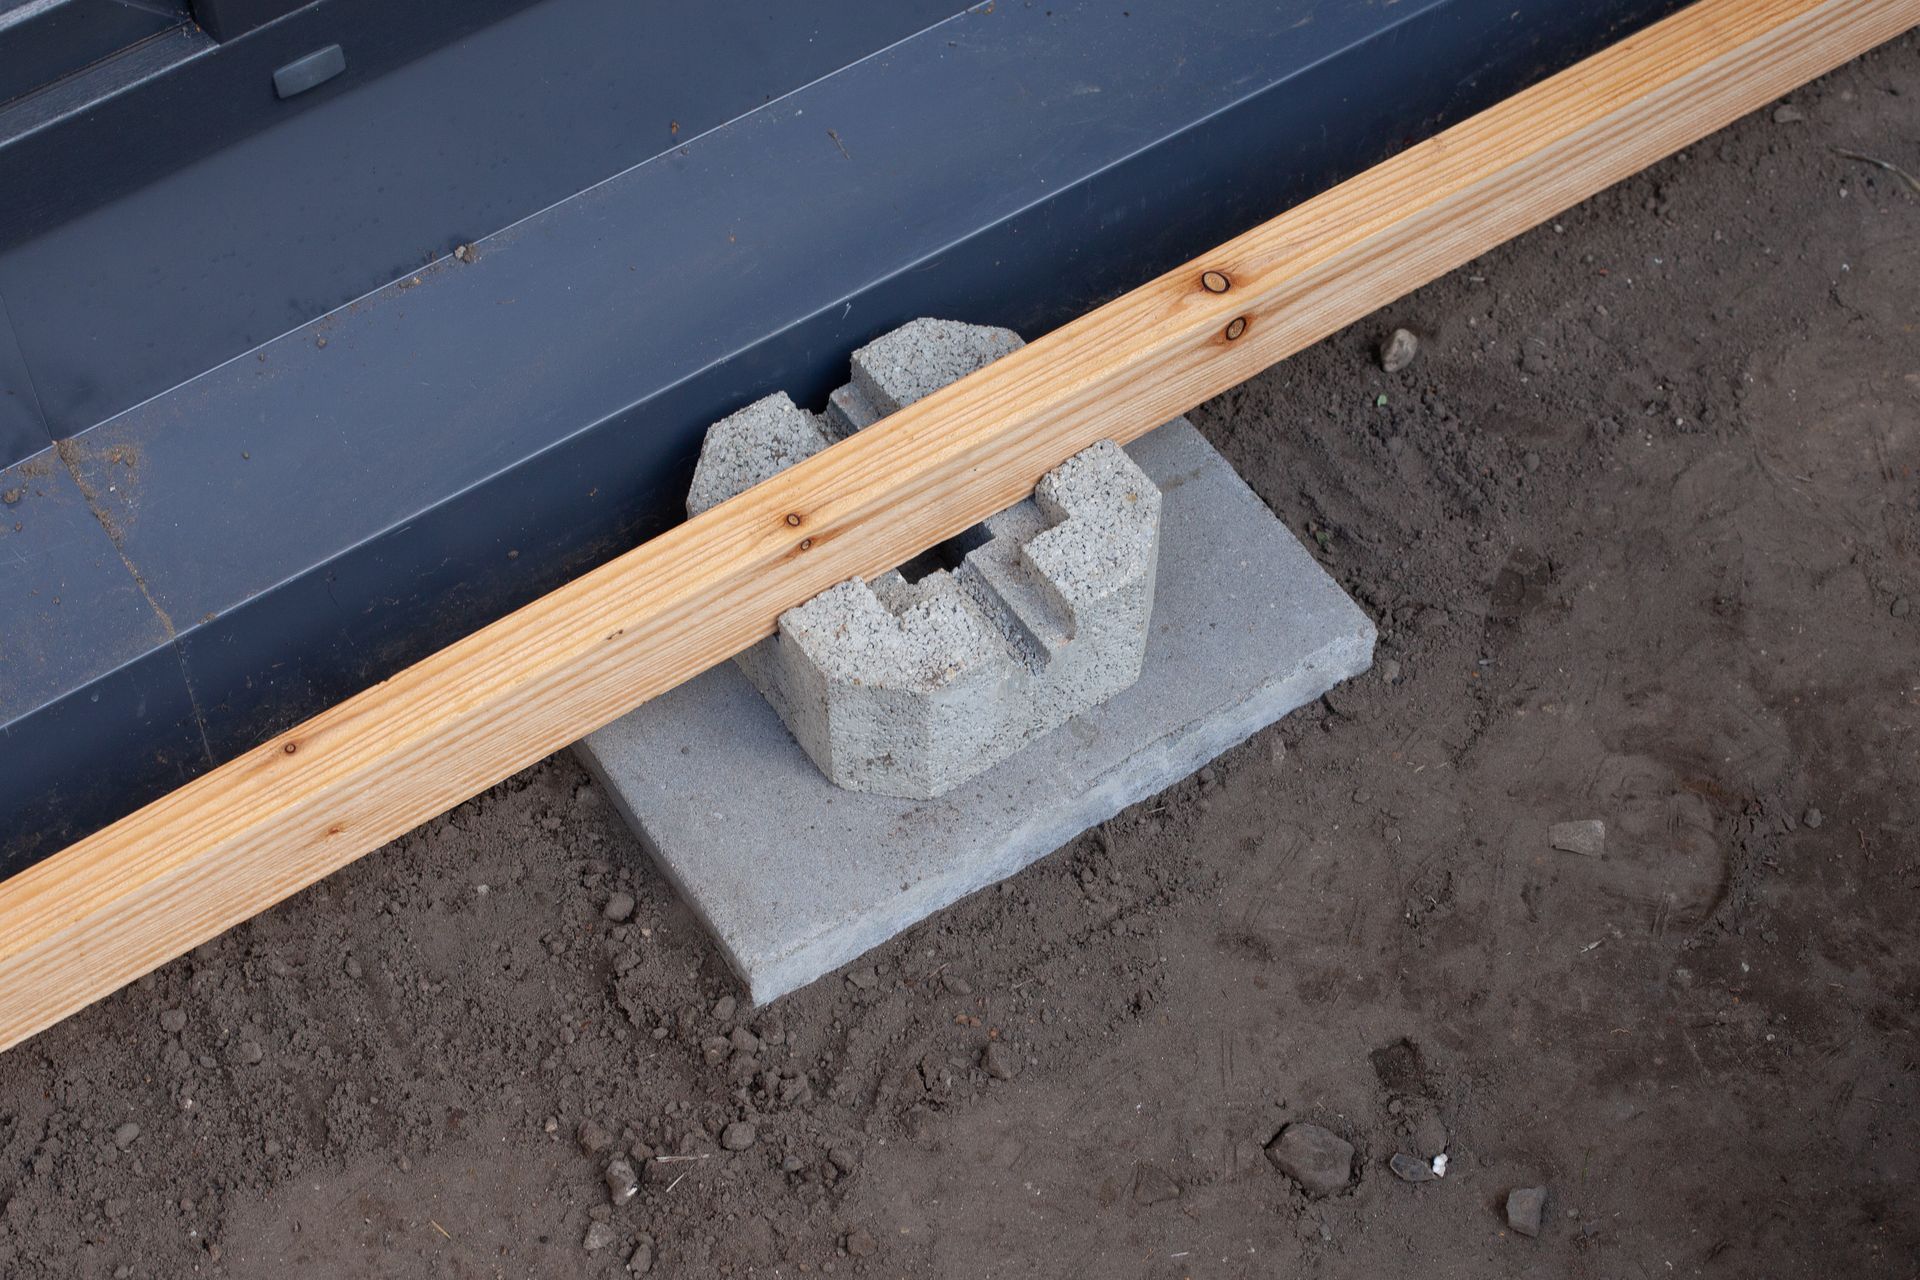
If your outdoor kitchen is going on a patio, make sure the surface is level and reinforced. For freestanding builds, pour a small concrete pad or use concrete footings to keep the wood off soil and prevent rot.
Framing Techniques for Strength and Stability
Construct the frame much like you would a wall in home construction. Use 2x4 or 2x6 studs, build a rectangular box, and secure it with screws rather than nails for added strength. Ensure corners are braced, and leave openings where appliances will slide in.
Attaching Plywood or Cement Board
Once the skeleton is built, cover it with exterior-grade plywood or, ideally, cement board. Cement board is water- and fire-resistant, making it the safer choice around cooking appliances. This sheathing creates a solid surface for attaching stone, stucco, or tile finishes.
Adding Finishes and Cladding
Choosing Stone, Brick, Stucco, or Tile
The visible finish of your outdoor kitchen should match your home's style. Popular options include stone veneer, brick, stucco, or outdoor-rated tile. These finishes not only improve appearance but also add an extra protective layer over the wood frame. Browse our gallery for design inspiration and examples of different finish options.
Waterproofing and Sealing Wood
Apply sealants, waterproof membranes, or moisture-resistant coatings to extend the life of the wood frame. This is especially important in wet climates.
Countertop Considerations
Your countertops need to be durable and weatherproof. Granite and concrete are the most popular, while stainless steel offers a sleek, modern look. Choose a material that can withstand sun, rain, and heat without cracking or fading.
Installing Appliances and Utilities
Grill, Sink, Refrigerator, and Storage
Design your kitchen around the main appliances. A built-in grill is usually the centerpiece, with sinks, refrigerators, and storage cabinets added for convenience. Make sure the cutouts in the frame match the exact dimensions of your appliances.
Proper Ventilation and Fire Safety
Never enclose a gas grill in wood framing without proper ventilation. Use vent panels, fire bricks, or non-combustible barriers to protect the wood. This prevents heat buildup and reduces fire risk.
Protecting Wood from Direct Heat
Install a heat shield or metal flashing between the grill and any wood. This small step can make a big difference in preventing scorching or long-term damage.
Maintenance and Longevity Tips
Routine Sealing and Inspections
Wood-framed outdoor kitchens require routine upkeep. Reapply waterproof sealant every 1–2 years and check for signs of rot, mold, or cracks.
Protecting Against Pests, Rot, and Moisture
Termites and moisture are the biggest threats to wood. Use treated lumber, keep the frame elevated, and install a protective barrier between the ground and the base.
Seasonal Care for Year-Round Durability
Cover your outdoor kitchen during the off-season with a breathable cover. In colder climates, disconnect water lines to prevent freezing and cracking.
Conclusion
Building an outdoor kitchen with a wood frame is a rewarding project that combines affordability with flexibility in design. With the right materials, proper planning, and attention to safety, a wood-framed outdoor kitchen can last for many years while serving as the heart of your backyard gatherings.
If you're ready to start your project, use this guide as your foundation—or consult a professional outdoor living contractor to ensure your build is safe, durable, and customized to your space. At Outdoor Space Builders, we provide comprehensive services throughout Connecticut, and our certified professionals can handle everything from design to installation. Check out our customer reviews to see why homeowners across Fairfield County trust us with their outdoor living projects.
Frequently Asked Questions
Can you use wood framing for an outdoor kitchen?
Yes, you can use wood framing for an outdoor kitchen as long as you choose treated lumber and take proper steps to protect it from moisture, pests, and heat. Fire-resistant barriers and waterproofing are essential for safety and durability.
How to build an outdoor wooden kitchen?
Start with a level foundation, frame the structure with pressure-treated lumber or cedar, and cover it with cement board for strength and fire resistance. From there, add finishes like stone or stucco, countertops, and appliances.
What is the best wood to use for an outdoor kitchen?
Pressure-treated lumber is the most common choice because it resists rot and insects. Cedar is another excellent option since it naturally resists decay. Both should be sealed and reinforced with fire- and moisture-resistant materials.
Does an outdoor kitchen require a permit?
In most areas, yes—especially if you’re running utilities like gas, water, or electricity. A permit ensures the build meets local safety codes. Always check with your town or city before starting.
Can I build an outdoor kitchen without planning permission?
It depends on your local regulations and the complexity of your project. Small, freestanding kitchens without utilities may not require approval, but permanent builds with gas or plumbing almost always do.

